[This is preliminary documentation and subject to change]
Windows Presentation Foundation
Windows Presentation Foundation (WPF) is the name of the new UI API of the last Microsoft operating system, Vista. WPF is a part of the .NET Framework 3.0. If you're on Windows XP, you should install .NET Framework 3.0 Runtime before installing Liogo (no runtime need for Windows Vista). See installation procedure for more.
Using Liogo on Windows Presentation Foundation has some interesting advantage:
- Create XAML file from Logo turtle graphics library,
- Ensure that Liogo will work on next release of .NET Framework,
- Validate the architecture design of Liogo: all graphics and console are handled in separate libraries,
- Test performance and capacity of this new interface, WPF.
Convert Logo to a WPF application
All features of Liogo are supported on Liogo for WPF so you can both used the Liogo compiler or the Liogo Interactive Command Line (see below). Let's start by a single geometric sample named "eck.lgo":
to n_eck :ne :sz
repeat :ne [rt 360 / :ne fd :sz]
end

to mn_eck :ne :sz
repeat :ne [rt 360 / :ne n_eck :ne :sz]
end

ht
setpc 4
setbackground 0
mn_eck 36 15
This sample is available on the Liogo "samples" directory, you can build it with "LIOGOC" using the "Liogo command line".

Liogo create an "eck.exe" file. Launch it from the command line, here is the result:
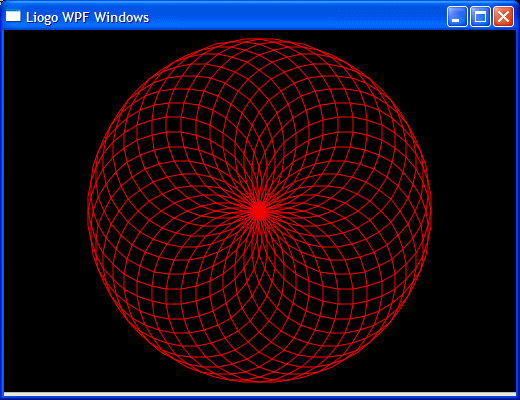
Beautiful isn't it ? But wait a minute: are you sure that it's a WPF windows ?
A new feature of Liogo on WPF is the capacity to save the output graphics as a XAML file. XAML is the XML file format used by WPF as resource file. So, right click on the previous Windows an choose Save as XAML... in the pop-up menu.
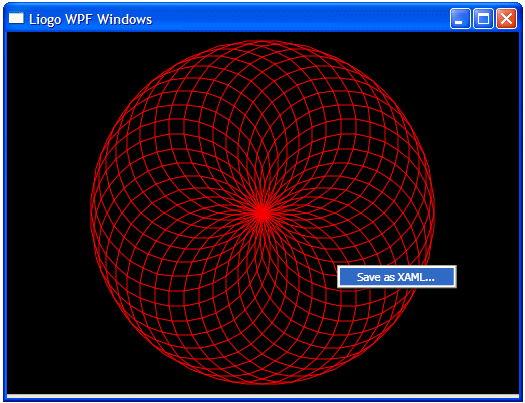
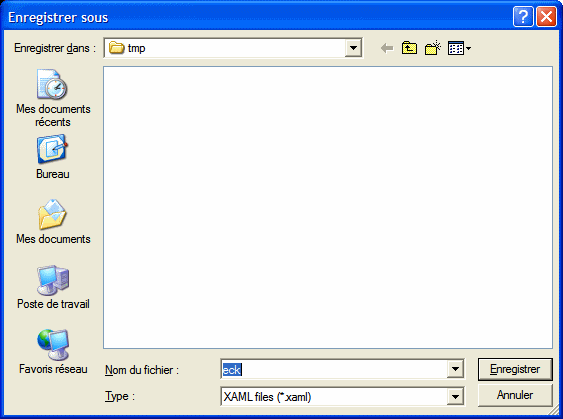
After few seconds (need to generate the XAML file in memory), you could save your work in a XAML file:
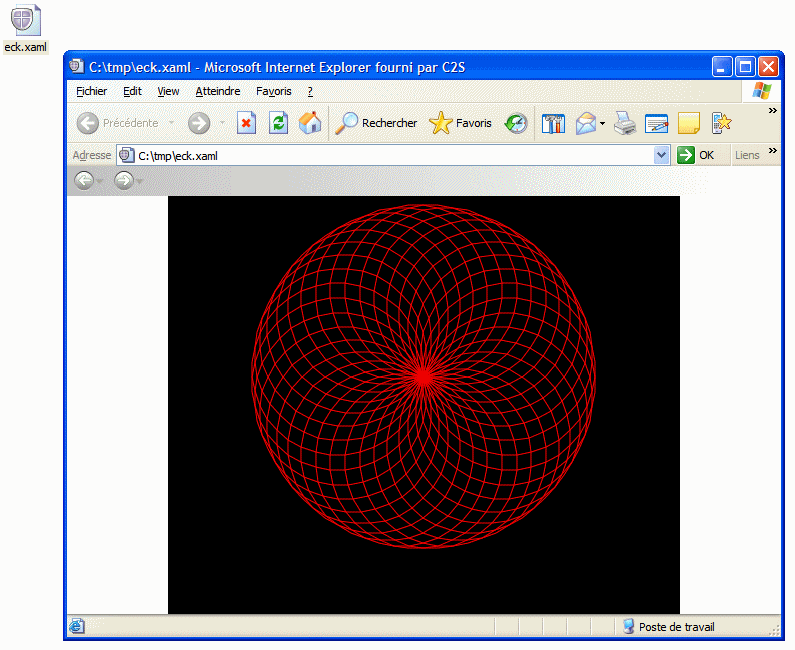
Now you've got a XAML file that you can used without Liogo on any computer with WPF. So double-click on the "eck.xaml" file in Windows Explorer and you'll see your geometric drawing in Internet Explorer.
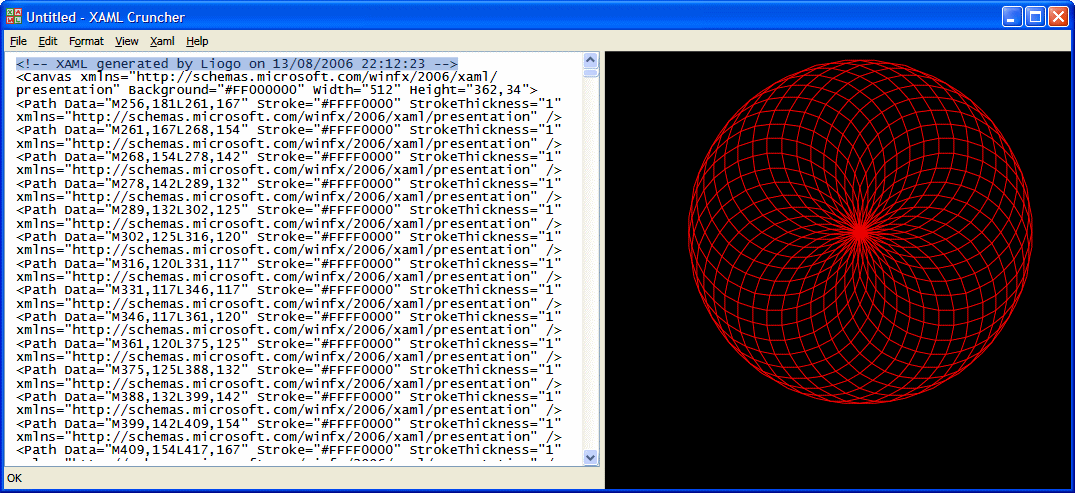
To see the structure of the XAML file, let's see your "eck.xaml" in the great tool from Charles Petzlod, XAML Cruncher:
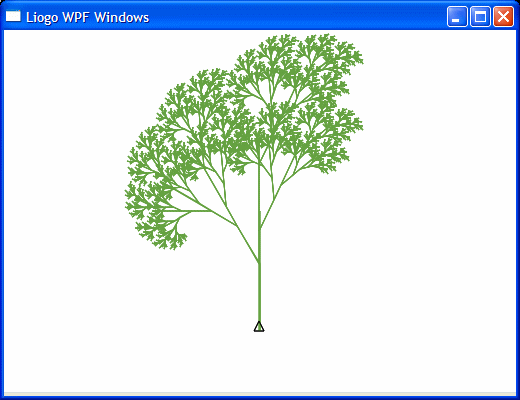
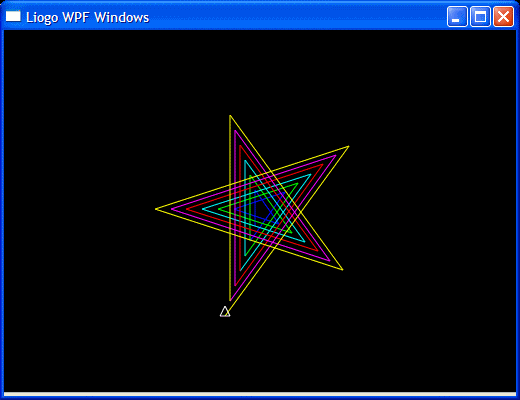
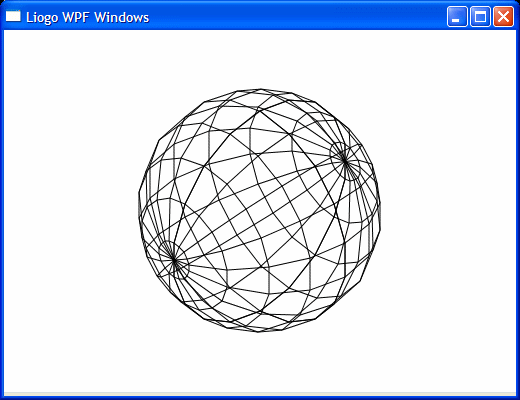
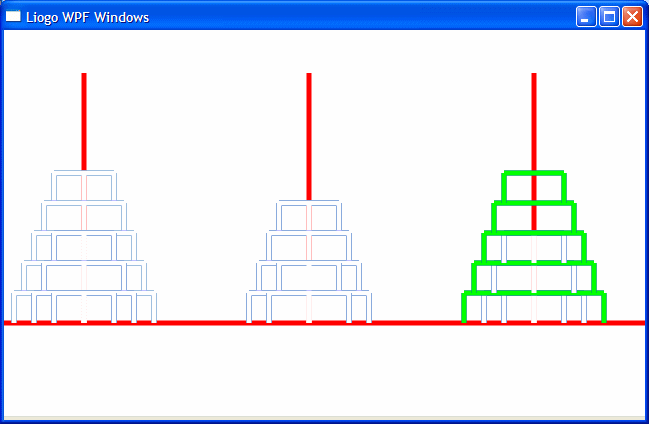
All graphics features of Logo: forward, back, pen color, background color, arc, ... work in the same way. Find below a gallery of image taken from the samples directory. To learn more on LIOGOC and turtle graphics, go to the Liogo Tutorial.
 |  |
 |  |
Liogo Command Line
Just like Liogo compiler, Liogo command line allow you to dynamically draw your graphic. Liogo command line mixed graphics and console on the same window. Double-click on the LIOGOI icon, the LIOGOI window appears:
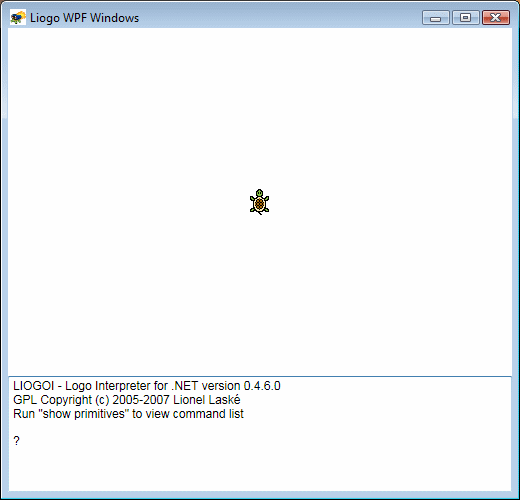
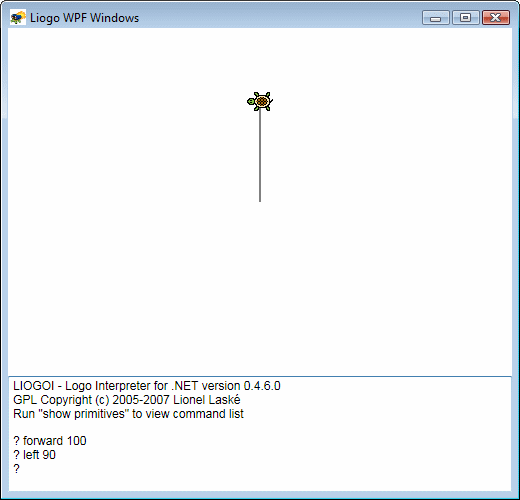
The upper side of the window is the turtle graphics. Turtle is represented as a triangle facing its current direction. The lower side of the window is the console input or output. In the middle, a splitter could be used to change size of each side. Now type "forward 100" in the console. Your turtle go forward to 100 pixels:

Then type "left 90", your turtle rotate left from 90 degrees.
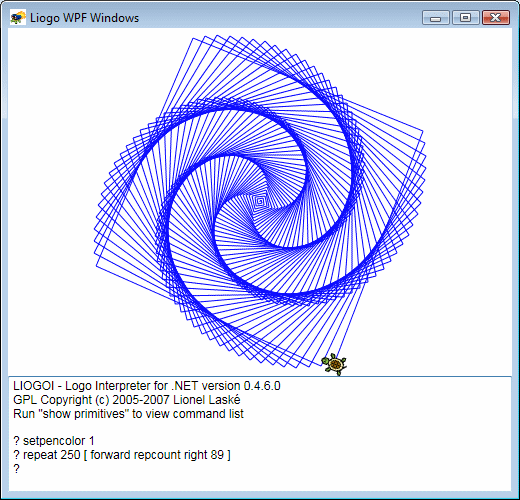
With few commands, you can draw a very nice drawing. See below an example:
Of course, in a same way than previously, you can save your work as a XAML file using the pop-up menu:
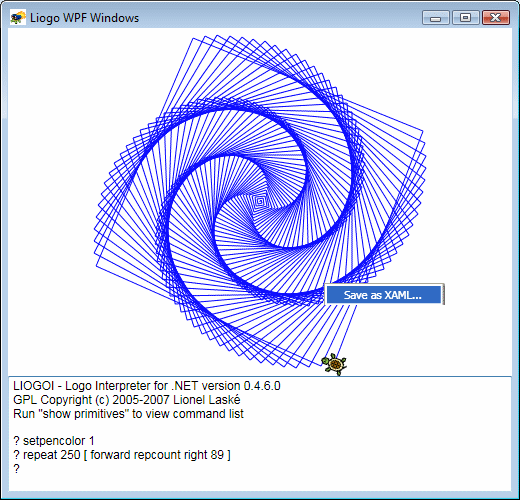
Note that to avoid display of the turtle's triangle in the XAML file, you could hide turtle using "hideturtle" command.
To learn more on LIOGOI and turtle graphics, go to the Liogo Tutorial.
Customize your WPF view
With LIOGOI, we have seen that the window is split in two parts: graphic and console. In fact, the console output is available too on samples built with LIOGOC. But, by default, the console size is equal to 1. To change this default value, a new property named LIOGO.Graphics.SplitterSize has been add to control initial size of console/graphics. The value of this property is the percentage of the total window's height of the console side. For example, LIOGOI use 25% for console.
A new property has been add too to control the pop-up menu with the XAML feature. Set LIOGO.Graphics.Menu to "false" to disable the pop-up menu.
Find a complete example below:
<configuration>
    <appSettings>
        <add key="LIOGO.Graphics.Menu" value="false"/>
        <add key="LIOGO.Graphics.SplitterSize" value="50"/>
    </appSettings>
</configuration>
|
How it works ?
Liogo for WPF is not a full rewriting of Liogo for WPF. All display features of Liogo (both graphics and console) are isolated in a specific library. The default library is liogo-gui-winbase.dll. This library use a dynamically created WinForm Windows for output for graphics and the standard system console for console input/output. With Liogo for WPF, a new DLLs appears named liogo-gui-wpf.dll. This DLLs contains all stuff to handle graphics handling and console input/output to a window.
So, except for minor changes on Liogo core, the only difference between Liogo for .NET 1.1/.NET 2.0 and Liogo for .NET 3.0 is this new DLLs "liogo-gui-wpf.dll". More precisely the Liogo core use now "liogo-gui-wpf.dll" by default for graphics and console. I say "by default" because like lot of thing in Liogo, this feature can be change using some specials configuration keys.
Let's take an example with our first Liogo WPF application, "eck". Open a new notepad instance and create a new file named "eck.exe.config" with this content:
<configuration>
    <appSettings>
        <add key="LIOGO.GraphicLibrary" value="liogo-gui-winbase, Version=0.3.6.0, Culture=neutral, PublicKeyToken=362e9af4fea849cd"/>
        <add key="LIOGO.GraphicClass" value="LIOGO.GUI.WinBase.LogoGraphicLibrary"/>
        <add key="LIOGO.ConsoleLibrary" value="liogo-gui-winbase, Version=0.3.6.0, Culture=neutral, PublicKeyToken=362e9af4fea849cd"/>
        <add key="LIOGO.ConsoleClass" value="LIOGO.GUI.WinBase.LogoConsoleLibrary"/>
    </appSettings>
</configuration>
|
Launch "eck.exe", here is now the resulting window:
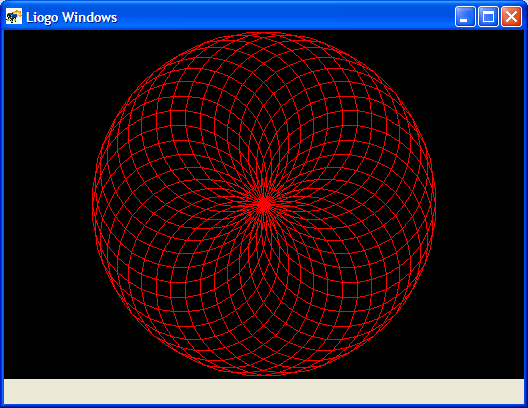
Believe me or not, it's now a WinForm window ! You could do the same thing with LIOGOI. Add all the previous line in the "liogoi.exe.config" file and launch LIOGOI, you're now exactly like in LIOGOI on Liogo for .NET 2.0.
Liogo on Vista
All previous screen capture are on Windows XP. See below few screens of Liogo on Windows Vista:
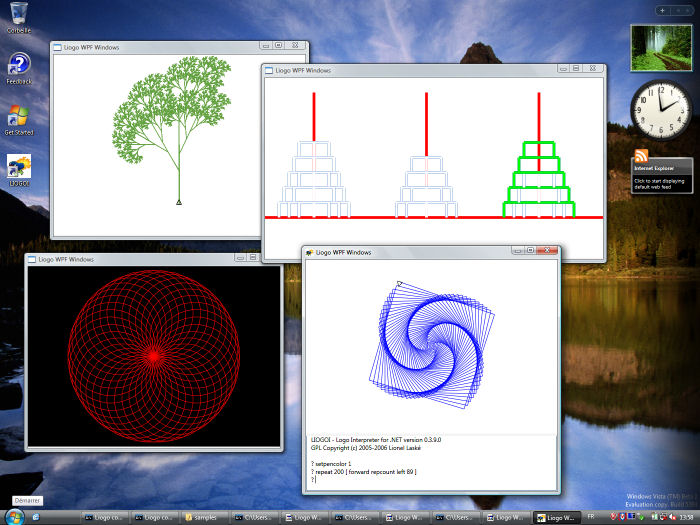
An overview of few Liogo samples.

The new 3D View of running application with Liogo Windows.

A view of the XAML file generated by Liogo in IE 7..
LIOGO - GPL Copyright (c) 2005-2007 Lionel Laské