[This is preliminary documentation and subject to change]
Deploy your Liogo program
Because Liogo is a Logo compiler, it's fun to think that you can deploy your Logo program as any other Windows (or Linux) application.
Let's take the square sample that we use in Turtle Graphics tutorial. Here is the source code in "square.lgo":
;
; My first Liogo program: do a nice square
;
repeat 4 [
    forward 100
    right 90
]
|
To build this great application, I just launch the following command line:

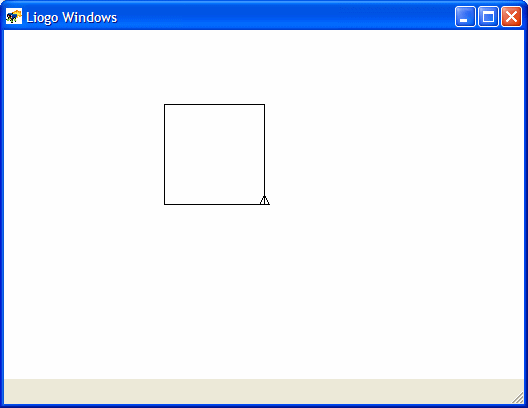
And when I launch it with "square.exe" (or "mono square.exe" on Linux), I get:
So, what if you need to send this to my friends ?
- First, you need to ensure that your friends have a Liogo compatible platform Windows with the .NET Framework or Linux with Mono. See Installation for more (Note that a Liogo program build on Windows/.NET can work on Linux/Mono (and conversely).
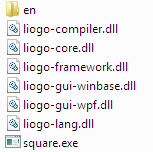
- Second, you need to copy your EXE file in your delivery directory (an USB memory key for example). Here you need "square.exe".
- Last, you need to copy the Liogo runtime files located in the Liogo bin directory: "liogo-lang.dll", "liogo-core.dll", "liogo-compiler.dll", "liogo-framework.dll", "liogo-gui-winbase.dll", "liogo-gui-wpf.dll" and content of the "en" directory (or "fr" directory for french).
Here the results of these operations in Windows explorer:
That's all folks ! With these files, you could be sure that your friends could appreciate your skill in programming.
Customize your work
Suppose you want improve the previous sample to double the square size. You now have a source code like this:
repeat 4 [
    forward 200		; Twice larger !
    right 90
]
|
But when you rebuild it and launch it again the result is:
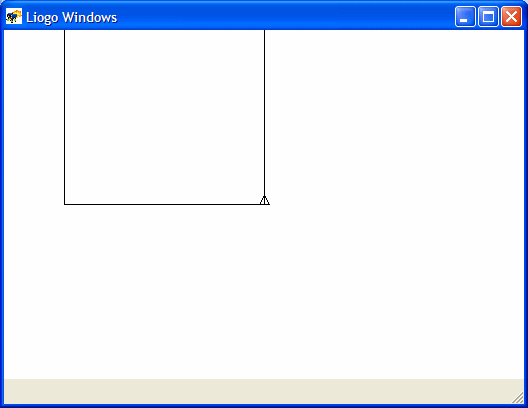
Only a part of the square is visible in the windows :-(. It could be nice to increase the window size. With Liogo, you can do that easily using a "configuration file". So, open an editor like notepad an put that in:
<configuration>
    <appSettings>
        <add key="LIOGO.Graphics.Width" value="500"/>
        <add key="LIOGO.Graphics.Height" value="500"/>
    </appSettings>
</configuration>
|
Save the resulting file as "square.exe.config". If you launch again "square.exe" (or "mono square.exe" in Linux) you now have a window that fit to the square. Cool, isn't it ?
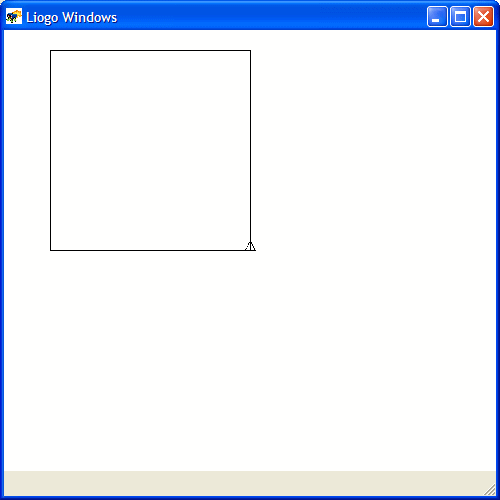
How it works ? Liogo has some configuration parameters that you can use to customize some features. LIOGO.Graphics.Width is the window width. LIOGO.Graphics.Height is the window height.
Edit again your "square.exe.config" and add two lines like this:
<configuration>
    <appSettings>
        <add key="LIOGO.Graphics.Width" value="500"/>
        <add key="LIOGO.Graphics.Height" value="500"/>
        <add key="LIOGO.Graphics.Title" value="My square"/>
        <add key="LIOGO.Graphics.Icon" value="square.ico"/>
    </appSettings>
</configuration>
|
We now have a custom title and icon using LIOGO.Graphics.Title and LIOGO.Graphics.Icon properties:
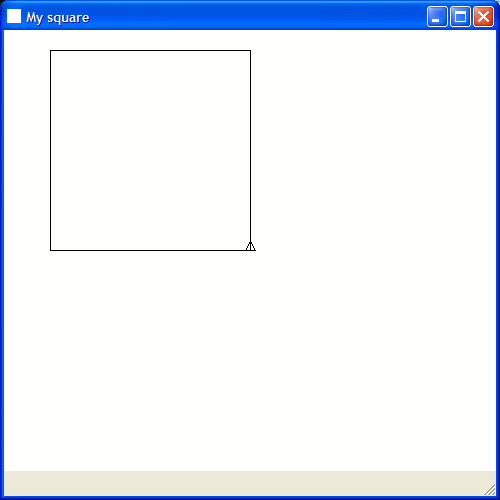
Of course you need to deploy your configuration file if you want to keep all custom features in your deployed application.
How to do your own Liogo
In a same way than your own application, you can create a configuration file for LIOGOI called "liogoi.exe.config". So you could customize the command line compiler, either on the look and feel and either on the features. Here an example:
<configuration>
    <appSettings>
        <add key="LIOGO.Graphics.Width" value="400"/>
        <add key="LIOGO.Graphics.Height" value="200"/>
        <add key="LIOGO.Graphics.Title" value="My Logo compiler"/>
        <add key="LIOGO.Graphics.Icon" value="square.ico"/>
        <add key="LIOGO.LoadAtStartup" value="fact"/>
    </appSettings>
</configuration>
|
The LIOGO.LoadAtStartup property is a coma separated value with names of DLL to load at startup. Here, "fact" is the DLL that we built in the First step with Liogo Tutorial.
With all these properties, it's easy to build your own Liogo !
See Settings reference  to have a list of all existing settings.
LIOGO - GPL Copyright (c) 2005-2007 Lionel Laské